
Running Instagram ads for small business doesn’t require a big budget. It requires a tight plan. With $5 a day, one clear offer and one Reel built for the feed, you can find out in a week whether Instagram can bring you customers at a price that makes sense.
I’ll walk you through the exact setup I use for small, local and early-stage businesses: what to prepare before you spend a cent, how to build the campaign in Ads Manager, a day-by-day 7-day test plan, and the numbers that tell you whether to scale, fix or stop.
Affiliate disclosure: This post contains Amazon affiliate links. If you buy through them, I may earn a small commission at no extra cost to you. I only recommend gear that fits the workflow in this guide.
Table of Contents
Key takeaways
- $5 a day is enough to test an offer and a creative, not to build a brand overnight. Treat your first week as paid research.
- Use Ads Manager instead of the Boost button when you want control over the objective, audience and tracking.
- Lead with a vertical Reel that hooks in the first second. On a small budget, creative does the targeting for you.
- Pick one objective, one audience and one ad set. Splitting $5 across several ad sets starves all of them.
- Judge results on cost per result and click-through rate after 5–7 days, not after a few hours.
Can you really run Instagram ads on $5 a day?
Yes, and for most small businesses it’s the smartest way to start. A small daily budget limits your downside while you learn what your audience responds to. The trade-off is speed: Meta’s delivery system learns from conversions, and a $5 budget produces fewer of them, so you need patience and a simple campaign structure.
What $5 a day can realistically do:
- Show you which hook, offer and visual earns the cheapest clicks or messages.
- Drive local foot traffic, DMs or bookings when your audience is a city or neighborhood.
- Warm up an audience you can later retarget at a lower cost.
What it usually can’t do is prove a high-ticket sales funnel in a week. If one sale needs dozens of clicks and a long consideration cycle, optimize for an earlier step (a lead, a message or a landing page view) and let the sale follow.
Before you spend a dollar: set up these 4 things
Most wasted ad budgets fail before the ad ever runs. Ten minutes of setup saves you from paying for traffic you can’t measure.
1. Switch to a professional Instagram account
You need a Business or Creator account to advertise. Connect it to your Facebook Page and your business portfolio in Meta Business Suite so Ads Manager can use it. Instagram’s own advertising overview explains the account requirements and ad formats.
2. Install the Meta Pixel and Conversions API
If your goal is website leads or sales, Meta needs to see what happens after the click. The Pixel tracks events in the browser, and the Conversions API sends the same events from your server, which helps when browsers block tracking. Many website builders and WordPress plugins connect both without code.
3. Tag every link with UTM parameters
Instagram’s reporting and your analytics will never match perfectly. UTM tags let you see the real traffic and conversions in GA4. If you’ve never built them, follow my 10-minute UTM tracking setup, or generate them with Google’s Campaign URL Builder.
4. Make sure the landing page matches the ad
If the ad promises “20% off your first class” and the page opens on a generic homepage, you’ll pay for clicks that bounce. Send people to a page that repeats the ad’s promise above the fold. My guide to landing page message match shows how to fix this in a day.

Boost button vs Ads Manager: which should you use?
The Boost button inside the Instagram app is fast. You pick a post, an audience and a budget, and you’re live in minutes. It’s fine for getting more eyes on a post that’s already performing.
Ads Manager takes a few more minutes but gives you the controls a $5 budget needs: a specific campaign objective, conversion tracking, placement control and proper A/B testing. If you care about leads or sales rather than likes, use Meta Ads Manager.
| Feature | Boost in the app | Ads Manager |
|---|---|---|
| Setup time | 2–3 minutes | 10–15 minutes |
| Objectives | Limited (profile visits, website visits, messages) | Full list: awareness, traffic, engagement, leads, sales |
| Conversion tracking | Basic | Pixel + Conversions API events |
| Placement control | No | Yes |
| A/B testing | No | Yes |
| Best for | Amplifying a post that already works | Testing offers and driving measurable results |
How to set up Instagram ads for small business in Ads Manager
Here’s the exact build. Keep it this simple for your first campaign. If you want the reasoning behind the structure, read my breakdown of the clean 3-layer campaign stack.
Step 1: Choose one objective
Pick the objective that matches the action you can actually measure:
- Traffic if you want people to visit a page and you can’t track conversions yet.
- Engagement → Messages if you sell through DMs or WhatsApp. This works especially well for local services.
- Leads if you want sign-ups through an instant form, which keeps people on Instagram.
- Sales only if your Pixel already records purchases. At $5 a day, a purchase objective may take a long time to learn.
Step 2: Set the budget at the campaign or ad set level
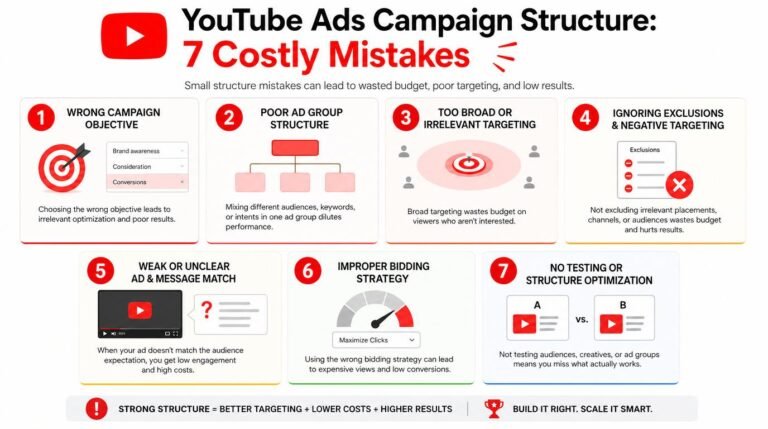
Set a $5 daily budget and run it for at least 7 days. Use one ad set only. Splitting $5 across three audiences gives each about $1.67, and none of them gets enough data to optimize.
Step 3: Build a tight but not tiny audience
For a local business, start with a radius around your location and your real customer age range. For an online business, start broad with a country and Advantage+ audience, and let the creative attract the right people. Avoid stacking five interests to “narrow it down”: very small audiences tend to get expensive fast.
Step 4: Choose placements
Advantage+ placements lets Meta spread your budget where results are cheapest. If your creative is a vertical video and you only want Instagram, select manual placements and keep Instagram Reels, Stories and Feed. Check the Meta Ads Guide for the recommended sizes of each placement.
Step 5: Upload two creatives, not ten
Give the system two ads with different hooks, same offer. That’s enough for a fair comparison on $5 a day. Once you have a winner, you can test angles more systematically with my Advantage+ creative testing playbook.
Step 6: Add tracking and publish
Paste your UTM-tagged URL, confirm the Pixel event (if you use one), check the preview on mobile, and publish. Then leave it alone for at least 72 hours. Editing an ad set in the first days restarts learning and wastes budget.
Watch: a full Instagram ads walkthrough
If you prefer to see the clicks, this tutorial by Ben Heath walks through Instagram ads in Ads Manager from start to finish. Watch it alongside the steps above.
The creative that works on a small budget
The biggest lever in Instagram ads for small business isn’t targeting, it’s the ad itself. On $5 a day you can’t buy your way past a weak ad. Creative is your targeting: the right hook pulls in the right people and pushes away the wrong ones.
Since Instagram now ranks Reels heavily on watch time (I break this down in Instagram Algorithm 2026: Watch Time), build ads the same way you’d build a Reel that holds attention:
- Hook in the first second. Show the result, the problem or the product in use, never a logo intro. Steal openers from my list of 3-second hooks that increase watch time.
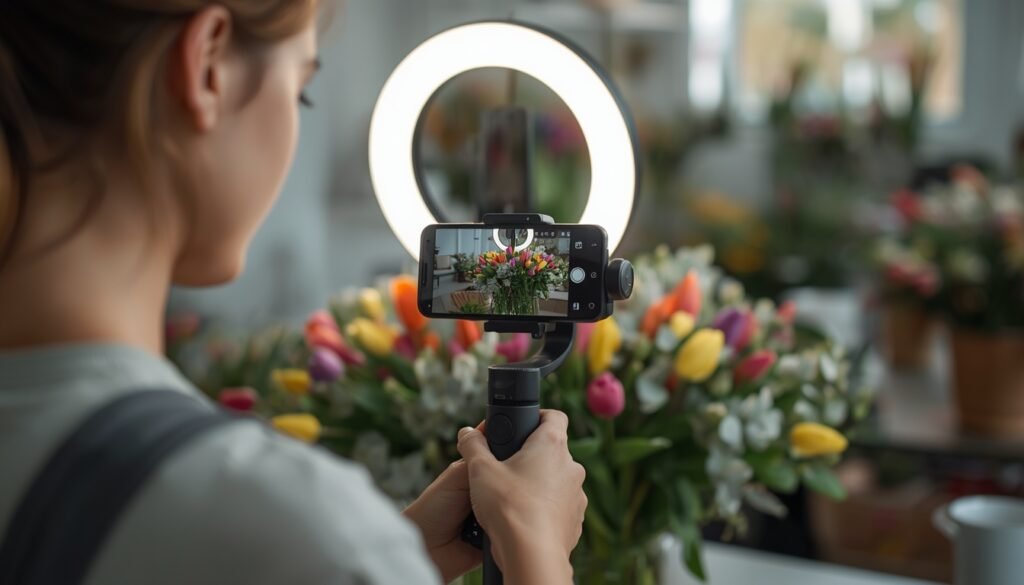
- Shoot vertical, 9:16, on your phone. Native-looking video often beats polished studio ads. That’s the low-production content trend working in your favor.
- Put the offer on screen. Many people watch with the sound off, so add captions and a clear text line like “Free first lesson this week.”
- One call to action. “Book now,” “Send us a message” or “Get the guide.” Pick one.
- Keep it 7–15 seconds. Short ads are cheaper to complete and easier to test.
3 ad formulas you can copy
- Problem → result → offer: “Dog pulling on the leash? Watch Max walk calmly after one session. First session 50% off this month.”
- Behind the scenes: show how you make the product, end on the price and where to buy.
- Customer proof: a real customer (with permission) saying one specific sentence about the result they got.
The 7-day $5 test plan
Total spend: $35. Here’s what to do each day so the test produces a clear decision.
| Day | What to do | What to look at |
|---|---|---|
| Day 1 | Launch 1 campaign, 1 ad set, 2 ads. Don’t touch anything. | Ads approved and delivering |
| Day 2 | Reply to every comment and DM within the hour. | First impressions and spend pacing |
| Day 3 | Check early signals, still no edits. | Link CTR, hook rate (3-second views ÷ impressions) |
| Day 4 | If one ad has clearly lower CTR and higher cost, pause it. | Cost per click or per message |
| Day 5 | Check the landing page or DM conversion rate. | Clicks vs results in GA4 (via UTMs) |
| Day 6 | Draft a new variation of the winning hook for week 2. | Frequency (watch for fatigue above ~2–3) |
| Day 7 | Decide: scale, fix or stop (see next section). | Cost per result vs what a customer is worth |
How to read your results
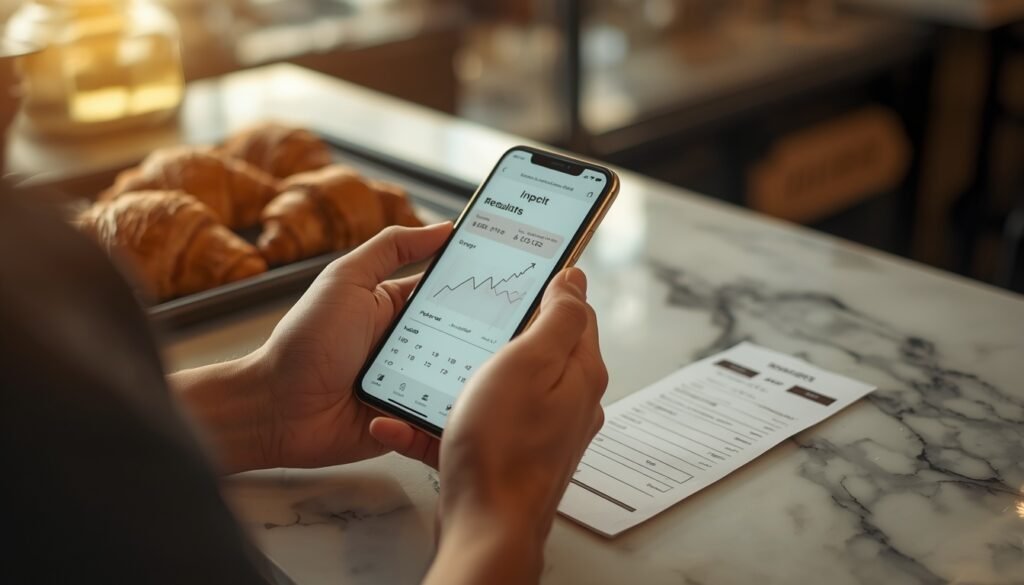
You don’t need to track 30 metrics. These six tell you what’s broken:
- CPM (cost per 1,000 impressions): what attention costs in your audience. If you’re curious how this compares across platforms, see TikTok vs Meta CPM.
- Hook rate: 3-second video plays divided by impressions. Low hook rate means the first second isn’t stopping the scroll.
- Link CTR: link clicks divided by impressions. Low CTR with a good hook rate means the offer or call to action is weak.
- CPC (cost per link click): the price of a visitor.
- Cost per result: the number that matters. Compare it with what a customer is worth to you.
- Frequency: average views per person. When it climbs and CTR drops, your audience is tired of the ad.
To connect ad spend to actual revenue, follow my guide on how to measure social media ROI.
When to scale, fix or stop
After 7 days, run this simple decision tree:
- Scale if cost per result is profitable. Raise the budget by about 20% every few days instead of jumping from $5 to $50, so delivery stays stable.
- Fix the ad if hook rate or CTR is low. Change the first second or the offer line, keep everything else.
- Fix the page if CTR is healthy but few clicks convert. The problem is after the click, not the ad.
- Stop if you’ve tested two or three different hooks and the cost per result is still far above what a customer is worth. Rework the offer before spending more.
Once you have engaged visitors, the cheapest next customers usually come from retargeting them. My beginner retargeting setup with 7, 14 and 30-day windows is the natural next step.
7 mistakes that burn small ad budgets
- Boosting a random post instead of an ad built around one offer.
- Too many ad sets on a tiny budget.
- Editing every day, which keeps the campaign in learning.
- Tiny, over-stacked audiences that push CPMs up.
- Horizontal or text-heavy creative in a vertical, video-first feed.
- No tracking, so you can’t tell which clicks became customers.
- Judging after 24 hours. Give it 5–7 days.
Gear that makes $5 ads look like $500 ads
You don’t need a studio. Your phone plus three or four inexpensive tools will make your ads look clearer, sound better and hold attention longer.
- DJI Osmo Mobile 7P Gimbal Stabilizer: smooth, stable phone video with subject tracking, ideal for product and behind-the-scenes Reels.
- DJI Mic Mini (2 TX + 1 Mobile RX): clip-on wireless mics that plug into your phone. Clear audio makes talking-head ads far more watchable.
- NEEWER 18″ Ring Light Kit with Stand: even, flattering light for indoor shoots and product close-ups, whatever the weather.
- UBeesize Flexible Phone Tripod with Remote: a cheap way to film yourself hands-free on a counter, shelf or table.
- Ultimate Guide to Facebook Advertising by Perry Marshall: a classic on Meta ad fundamentals that still applies to Instagram, since both run through the same Ads Manager.
Frequently asked questions
Is $5 a day enough for Instagram ads?
Yes, for testing. Five dollars a day for 5–7 days is enough to compare two creatives and see whether an offer gets clicks, messages or leads at a sensible cost. It’s not enough to optimize for rare, expensive conversions quickly.
Should I boost a post or use Ads Manager?
Use Ads Manager when you want leads, messages or sales you can measure. Boosting is fine for getting more reach on a post that’s already doing well organically.
How long should I run my first Instagram ad?
At least 7 days without major edits. Meta’s delivery needs time to learn, and early results swing a lot from day to day.
What is the best objective for a small business?
It depends on how you sell. Local service businesses often do best with Messages, online businesses with Leads or Traffic, and stores with steady purchase data can use Sales.
Your next step
The fastest way to find out whether Instagram ads for small business work for you is a small, disciplined test. Pick one offer, film two vertical hooks on your phone this afternoon, and launch a $5/day test in Ads Manager tomorrow. In a week you’ll know more about what your customers respond to than months of guessing would tell you.
Want the platform rules that decide your reach? Grab the free 2026 Social Media Algorithm Cheat Sheet, and when you’re ready to turn those clicks into customers, use my social media conversion system.